Tuesday, April 26, 2011

Caught Red Handed

I must admit...the first time I had Red Velvet cake, I was underwhelmed. After all the hype, all the talk, I just didn't "get" it. Turns out, it wasn't a very good version of this popular little treat. My second attempt at the recipe yielded a much more favourable result and with the upcoming fundraiser in mind, I decided to transform a red velvet cake into some delicious cake pops!

First, the ingredients:


Sift together the flour, cocoa and salt. (n.b. if you happen to be married to a police officer, he may whine that it's "hard" to sift using a sieve, and I promise it's not...it's much easier to leave him watching the hockey game!)


Once that's taken care of, it's time to cream the butter in a stand mixer.


Then, mix in the sugar in at medium speed until everything is nice and fluffy (about 2-3 minutes.)


Add the eggs one at a time, mixing well in between and beat until smooth.


Next, measure out your buttermilk. At low speed, begin adding the flour mixture. Alternate adding thirds of the flour mixutre with half of the buttermilk. So: 1/3 flour mix, 1/2 cup of buttermilk, 1/3 flour mix, 1/2 cup buttermilk, 1/3 flour mix. Mix until everything is smooth.


Add the vanilla and food coloring. (n.b. you can use gel or liquid, I use gel)


Isn't it pretty?

In a small bowl, mix together the baking soda and vinegar.

Put the whole thing into your prepared pans and bake at 350 F until a toothpick comes out clean!

Generally, for this recipe, I recommend two 9 inch round pans. As you'll notice, I've used a great big 12 inch pan for this recipe, mostly because I don't particularly care about the final appearance. Just be sure to line your pan(s) with parchment paper and oil/flour.


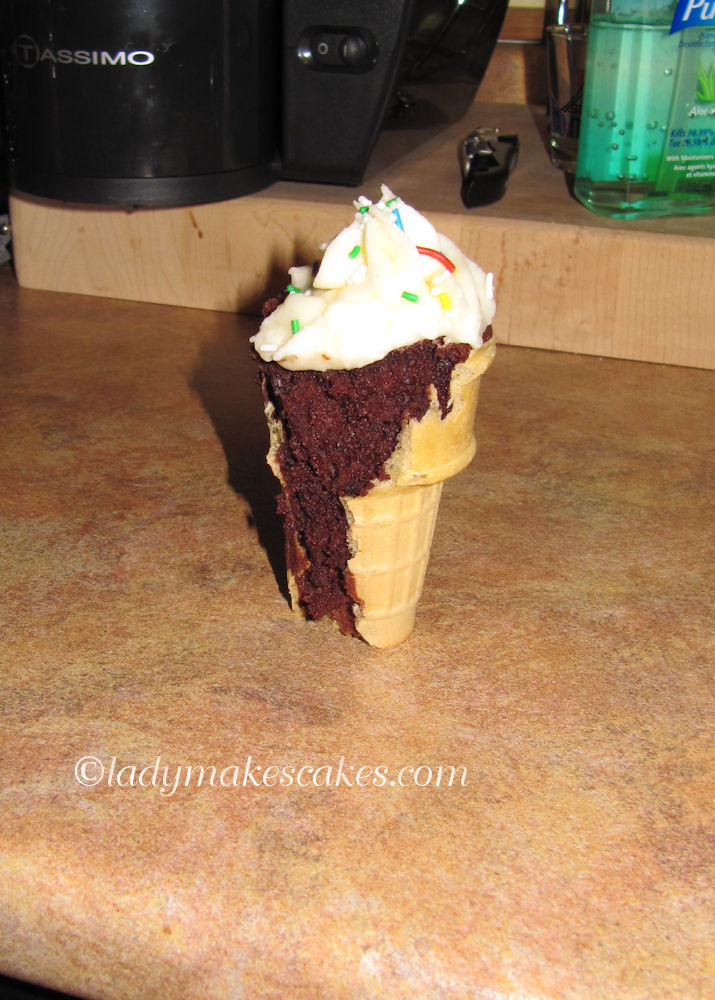
Bake it up and frost with your favourite cream cheese or white chocolate icing! :)


----------------------------------------


Red Velvet Cake

2 1/4 cup cake flour (not the self rising kind)
1/4 cup cocoa powder
1/2 teaspoon salt
1/2 cup of butter, room temperature
2 large eggs at room temperature
1 1/2 cups of sugar
Red food coloring (I used Wilton "No Taste" Red gel)
1 tsp vanilla extract
1 cup of buttermilk, room temperature
2 tsp white vinegar
1 tsp baking soda

Sift together the flour, cocoa and salt in a separate bowl.

1. In stand mixer, beat the butter at low speed until creamy.

2. Add sugar; mix on medium speed until fluffy, about 2 to 3 minutes.

3. Add the eggs 1 at a time, mixing well after each.

4. Beat in the flour mixture in thirds, alternating with the buttermilk. Beat in a third of the flour mixture, then half the buttermilk, and so on. Begin and end with the flour mixture.

5. Add food coloring and vanilla


6. In small bowl, stir together vinegar and baking soda. Stir into batter.

Divide batter between prepared pans; spread evenly. Bake until a toothpick inserted in center comes out clean (about 30 minutes.) Cool in pans for 10 minutes.Remove from pans and peel parchment paper from the bottom (if you used it.)

Cool completely, ice and enjoy!

Sunday, April 17, 2011

Impatience...

One of my favourite things...to do in the summer is to take a drive with my husband after dinner and go get an ice cream cone at one of the many shops that pop up with the warmer weather. As with much of my life, I tend to lean towards simplicity and often opt for chocolate or vanilla and it's always perfection.

Well, in LMC land there is still a significant amount of snow on the ground and this does not generally bode well for the opening of the ice cream shops. Finding myself somewhat impatient with the fact that summer is nowhere near, this week, I decided to take matters into my own hands. The result? These super cute ice cream cone cupcakes that will make anyone wish for the days to come!


What I like the most about these is the fact that they can be made in any flavours you wish. I chose chocolate cake with a vanilla buttercream icing. 


Easily enough, the first step is to just make your cake mix according to the instructions on the box. 


Once that's all done, line your muffin pans, not with baking cups, but with ice cream cones! Fill each one with about a third of the way. You'll likely get much more than 2 dozen out of this technique. I tried to get an even 24 and, well, you'll see why that didn't work out so well!


Bake according to the instructions on your cake box. 


Meanwhile, prepare your frosting. Like I said, you can use any kind of frosting you want, but I opted for a vanilla buttercream. I like white icing when using sprinkles because they pop better on the lighter surface. 


Buttercream Icing
 (I doubled the recipe for my cupcakes)

1/2 cups of unsalted butter, softened
4 cups of powdered sugar
1/2 teaspoon of salt
1/3 cup of milk
1 teaspoon of vanilla extract 


Cream the butter, then add the powdered sugar and milk. If the mixture is too thick, add a little more milk, if too thin add a little extra sugar. Mix in the salt and vanilla and blend until smooth. 


Once your cupcakes are done (toothpick!) take them out and let them cool. 


Now, this is where I pass along some hands-on baking experience and remind you that you really can't put a lot of batter in these things. While the front one looks great, you'll see in the background that they didn't all look as spectacular. Thankfully, the frosting will hide much of the flaws! 


 Using a 1M tip, pipe a cute little swirl on the top of each cupcake. Or, you can simply frost them with a regular knife. Or make flowers. Let your imagination take over!! 


But don't forget the sprinkles!!


 Take a big bite, sit back and wait (impatiently or otherwise) for summer to come along!


Happy Baking!! xox

Crystal 


Vanilla Buttercream Icing Recipe:


Monday, April 11, 2011

Happy "Bird"day!

Happiest Bestest Birthday Wishes to my 
Super Cool Mama!
Hope you liked your cake!


Stay tuned next weekend for an adorable cupcake that will make you wish for summer (more than you probably already are!)

Happy Baking!!

Crystal xox

Thursday, April 7, 2011

The Bathurst/Gloucester SPCA

Quincy and I met by chance, one afternoon 5 years ago while visiting the Bathurst/Gloucester SPCA. My mom and I were in the area and she wanted to go look at the kittens (I suppose my love of animals is somewhat hereditary.) While mom ooh and awwed over the adorable little balls of fluff, I decided that I would wander out back to see the dogs. I  already had three cats and was in no mood to add to that total!! I figured looking at the dogs would be safe since I'd never had the intention to get a dog of my own.

The dogs were outside and, of course, barked like crazies when I walked out towards them. There was one in particular, a Jack Russel, who was eager to show off that he could jump to my eye level with, what seemed like, very little effort. Everywhere, paws clamored against the kennel doors, with rattling and barking at an almost overwhelming decible. The volounteer and I shared a quick comment about how loud it was as I walked along the cages and said hi to each of the dogs, all happy for attention. My eyes met the bouncy Jack Russel's, but something behind him caught my eye more than this little dogs boundiful feats.

Between his kennel and that of a large husky, I first saw Quincy.

Unlike the other dogs, this shaggy, brown and black mutt wasn't barking or trying to get my attention. He wasn't even too interested when I knelt down in front of him and said hello. Instead, he stuck his shiney black nose out between the chain links, licked my outstretched hand once, then turned and went to sit at the back of his cage. No barking, no outward display of excitement.

I asked the SPCA volounteer about the sad dog and she went to get his information for me. She told me he'd been adopted but was recently returned. Already a fragile little soul, Quincy had decided it was best not to get his hopes up when someone came by to see him. As we both stood looking at him, the volounteer said 5 words I'll never forget: "I think he gave up."

For the next 24 hours, I was unable to get that scruffy, 30 pounds of dog out of my mind. I didn't want a dog! I had a roommate who already had a dog, and I had three cats of my own. But now, somehow, I had only one goal in mind: getting Quincy home. Several phonecalls, one heart-felt plea to my roommate and a few pages of paperwork later, I found myself sitting in the front office at the SPCA once more, nervously trying to read the faces of the ladies looking over my application. Then they turned to me and asked "So, when do you want to come pick up your dog?"

My dog.

This sweet, loveable mutt who was "too much work" for his past people and had been bounced between home and shelter was welcomed into his forever home on that afternoon in June of 2006. And that sad little dog who looked out at me with big brown eyes is now a happy, funny and loving creature who both my husband and I adore. His world is now a balance between playing fetch with his tennis ball, his stuffed toy bunny and cuddling with his "Mama" and "Daddy." I cannot say enough about the Bathurst SPCA and will forever be thankful to them for being there for Quincy when he needed someone to love him.

On April 30th, 2011, Lady Makes Cakes will be donating cupcakes and cake pops to the Greater Bathurst Business & Professional Women's Network to help in their efforts to raise much needed funds to help our friends at the shelter continue to do the work that they do. A table will be set up at the Bathurst Farmer's Market, so if you're in the area that weekend, be sure to stop by, pick up a yummy treat and contribute generously to this great cause!


Love you Booboo!!


Sunday, April 3, 2011

A Royal Affair

99% of my decorating...is done with a combination of buttercream icing and marshmallow fondant. Recently, while coming up with an idea for my Mum's birthday cake, I decided to try some royal icing decorations. 

Most of us have seen royal icing decorations in stores as prepackaged, hard and candy-like pieces that can be used to spruce up a homemade cake. It is a versatile, easy way to decorate a cake (I wouldn't recommend it for icing a cake or cupcake because of it's consistency when dry) and a great way to prep some of your cake decor in advance!!


There are a few ways of making royal icing, but I prefer to use the meringue powder recipe which yields about 3 cups:


1 pound (about 4 cups) of icing sugar, sifted
4 tablespoons of meringue powder (can be found here)
6 tablespoons of water


Mix everything in an electric mixer for 7 to 10 minutes until the icing forms stiff peaks. Divide the icing into smaller bowls and colour using a gel paste colouring (since liquid can change the consistency of the icing...) 


Then, let you imagination run wild! :) I am prepping a pretty little cake for my Mum's birthday next weekend, so I decided to make some flowers and some decorations which will be added to a white chocolate cake next weekend -- stay tuned!! 


There's no limit to what you can do with royal icing, so I encourage you all to give it a try. You'll find that once you start working with it, it'll become a staple decorating accessory in your kitchen, as it has in mine! :) 


Happy Baking! xox


Crystal